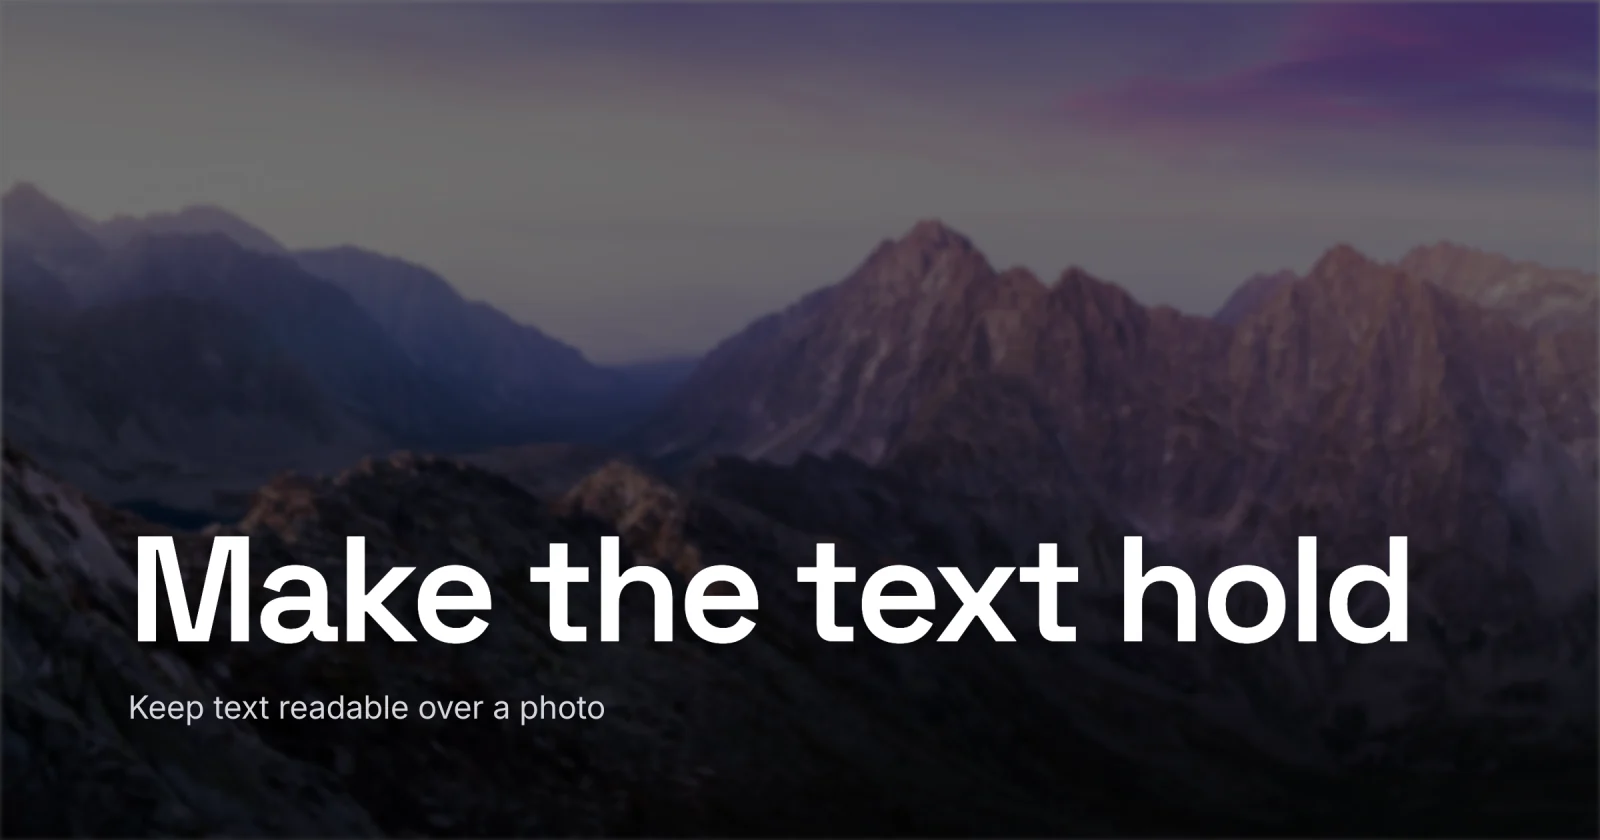
How to Keep Text Readable Over a Photo
Why a flat wash fails, and the scrim-and-grayscale fix that does not.
Put a layer between the text and the photo and tune that layer to the worst pixel under your letters, the brightest spot any of them cross. A gradient scrim - black at around 40% opacity, fading to transparent, sitting only under the title - solves text over images more cleanly than any flat wash. That is the whole answer. The rest is why the flat wash keeps failing, and how to prove your readable text on photos is actually readable.
This assumes you have already decided the cover wants words on it. If you are still weighing that, should a blog cover have text makes the call first, and this is the how once the answer is yes.
The trouble with text overlay contrast is that a photo is not one color. It is hundreds. A contrast checker wants two flat swatches; your background has a bright cloud in one corner and a dark ridge in the other. So the white headline that reads fine over the shadow vanishes the moment it crosses the cloud. One file, one title, and the contrast changes letter by letter.
The mistake everyone makes
The reflex is to drop a flat dark layer over the whole image so the white text shows up. Black at 30%, maybe 40%, spread edge to edge.
It half works, which is the problem.
Nielsen Norman Group walked through exactly this: a 30% black overlay that did not carry white text, so they nudged it to 50% to pass. It passed. It also dimmed the entire photo to do it. That is the trade nobody mentions - a flat wash strong enough to rescue your text is usually strong enough to flatten your image into gray. You picked that photo for a reason. The wash spends it.
And here is the quieter failure: you tune the wash by eye, looking at the full-size image on a bright monitor, and call it done. But the text does not need contrast on average. It needs contrast at its weakest point, the one bright patch the title happens to cross. The average looks fine while one word disappears.
A scrim, not a wash
A scrim is the fix. Same idea - a dark layer - but shaped.
Instead of a flat sheet, use a gradient: black at roughly 40% opacity at the edge where the text sits, fading to fully transparent across the rest of the image. The text gets its dark backing. The far side of the photo stays bright and untouched. You buy contrast exactly where you spend it and nowhere else.


A 40% black-to-transparent gradient is a good default, because it darkens enough to anchor a label without announcing itself as an overlay. Anchor the dark end to wherever the title lives. The bottom third is the usual home, partly because that is where eyes settle and partly because it is the easiest band to darken without burying your subject.
If a particular cover genuinely wants a flat overlay - a full-bleed quote, say - you rarely need to push a flat black past about 50% to carry white text. Past that you are no longer adjusting an image. You are replacing it with a gray card that has a photo faintly printed on it.
Tune it to the worst pixel
This is the move that separates readable from “looked fine on my screen.”
A photo background means your contrast ratio is a range rather than a single number. So stop measuring the average and find the failure point: the lightest pixel sitting directly under your darkest letter. That single spot is where readable text on photos breaks first. Make that pass, and everything darker than it passes for free.
In practice:
- Find the brightest patch of photo that any part of the text crosses.
- Sample the text color and that patch.
- Adjust the scrim opacity, or nudge the text, until that worst pairing clears your contrast target.
You are not making the whole image pass. You are making the hardest pixel pass. The W3C says as much in its own guidance on text over backgrounds: pick the actual background the text sits over instead of a convenient white swatch nearby, because the contrast you do not measure is the contrast that fails.
What number are you actually chasing
WCAG AA, the contrast standard most of the web is held to, asks for two thresholds:
| Text size | WCAG AA minimum | What counts |
|---|---|---|
| Normal text | 4.5:1 | under 18pt / 24px |
| Large text | 3:1 | 18pt (24px), or 14pt bold (~19px) and up |
A cover headline is large text by any measure, so 3:1 is your floor. Treat it as a starting point and build margin above it. A photo background is uneven and your checker samples one spot, so a comp that measures 3.2:1 in the tool can read worse in the wild. Aim for 4.5:1 even on the big type and you have margin for the bright patch you forgot to check.
One honest caveat: contrast math assumes flat colors, and a photo is not flat. The ratio you get over an image is an estimate of the worst case rather than a guarantee. That is exactly why you tune to the worst pixel and then leave yourself headroom.
The grayscale test
Color contrast and brightness contrast are not the same thing, and only one of them survives the real world.
Convert the finished comp to grayscale. If the title still stands out with all the color stripped away, your contrast is structural - it lives in lightness, the thing every eye reads. If the title melts into the background the second the color goes, you were leaning on a hue difference. Red text on a green photo can look punchy and score nothing in gray.

That gap is not academic. Around 8% of men - roughly 1 in 12 - have a red-green color vision deficiency, the most common form by far. A hue trick that fails for them also fails for everyone reading on a phone in direct sun, where the screen washes out and only brightness survives. Grayscale is a thirty-second test that catches both at once.
If your title only reads in color, it does not read. Brightness is the contrast that travels; color is the one that flatters you in the editor and abandons you in the feed.
A quick checklist
Before the cover ships, run this:
- Use a gradient scrim (~40% black to transparent) under the text instead of a flat edge-to-edge wash.
- Anchor the dark end to where the title sits, usually the bottom third.
- Tune the opacity to the worst pixel - the brightest patch under the darkest letter.
- Clear 3:1 for the large headline as a floor; aim for 4.5:1 for margin.
- Convert to grayscale and confirm the title still stands out.
- If you ever need a flat overlay, keep it at or under ~50% black so the photo survives.
Get those right and your text holds over any photo you throw behind it, even a blown-out sky. The same discipline that keeps a headline legible is what keeps the whole cover working when it shrinks to a thumbnail, which is the other half of this job and worth a read on its own: what makes a good blog featured image.
The cover for this post was built in Lede - one photo, one gradient scrim tuned to its brightest pixel, one grayscale pass to confirm it. When you want to make yours, open Lede, or start from a layout in the gallery and just swap the photo and the words. Tune it to the worst pixel, prove it in gray, and it will read anywhere.